|
How to Draw a Tasmanian Devil easy with this how-to video and step-by-step drawing instructions. Easy animals to draw for beginners and kids.
Please see the drawing tutorial in the video below
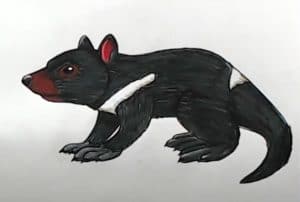
You can refer to the simple step-by-step drawing guide belowStep 1Draw the head first, drawing lots of bumps to create the odd shape of its head. Try to identify the ears, nose and mouth when drawing it. Step 2Draw a single curve for one ear and close a curve for the other ear. Use an oval with a dot in it for the eyes, a single line for the mouth and close another bump and add another circle in it for the nose. Step 3To draw the body, use a large curved line above and a diagonal line to the right. Step 4Draw the front leg with two vertical lines, add the foot and use the small lines for the toes. Step 5Draw the remaining front leg almost exactly the same as the front leg, except for the left. Step 6To draw the back foot, make the sole much wider than you drew for the front foot, then draw the foot similar except slightly wider. Step 7Draw the tail by drawing lines from both the end of the top part of the body and the leftmost part of the hind legs. Let them meet in a bend. Your Tasmanian Devil is now complete! The post How to Draw a Tasmanian Devil Step by Step appeared first on How to draw step by step. Comments are closed.
|